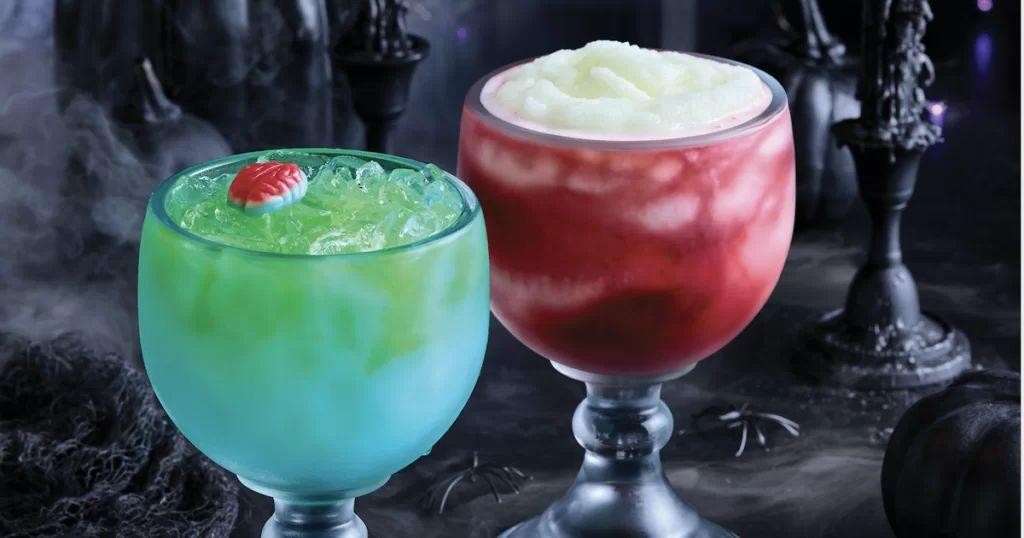
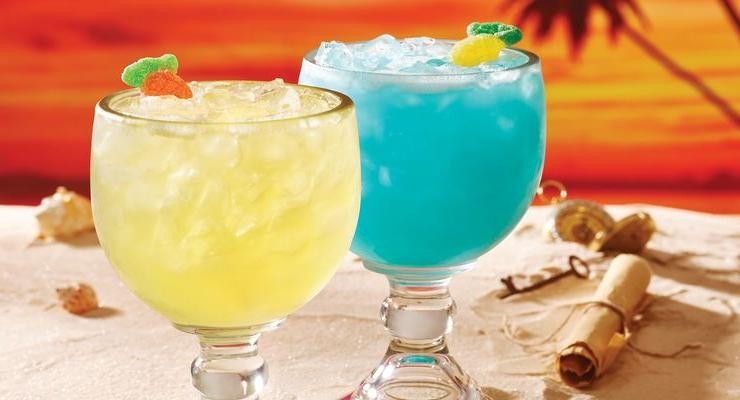
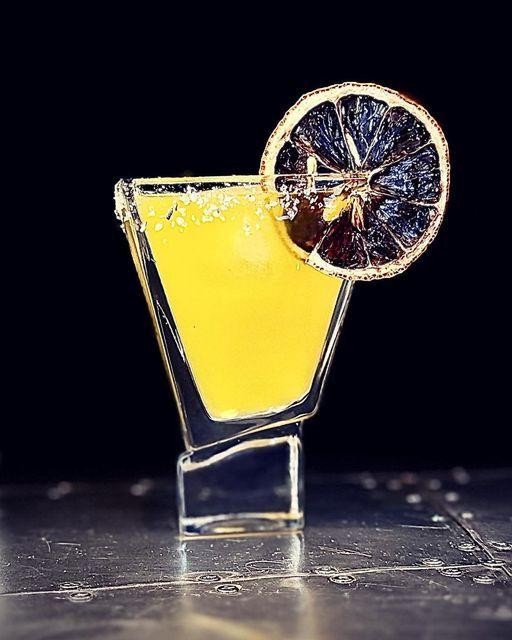
When it comes to cocktails, few are as iconic and beloved as the margarita. With its perfect balance of sweet and sour flavors, this drink is a staple at any gathering. But why settle for just one recipe when you can have 20? In this article, we’re counting down our favorite Applebee’s-inspired margarita recipes that will take your cocktail game to the next level.
From classic twists on the original to spicy and fruity variations, there’s something for everyone in this collection of refreshing margaritas. Whether you’re a seasoned mixologist or just looking for a new drink to try, we’ve got you covered. So grab your tequila, lime juice, and favorite fruits, and get ready to shake (not stir) things up!
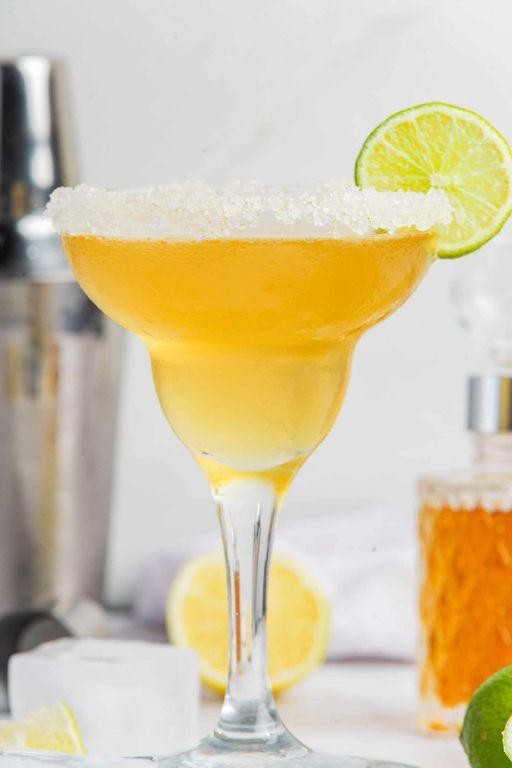
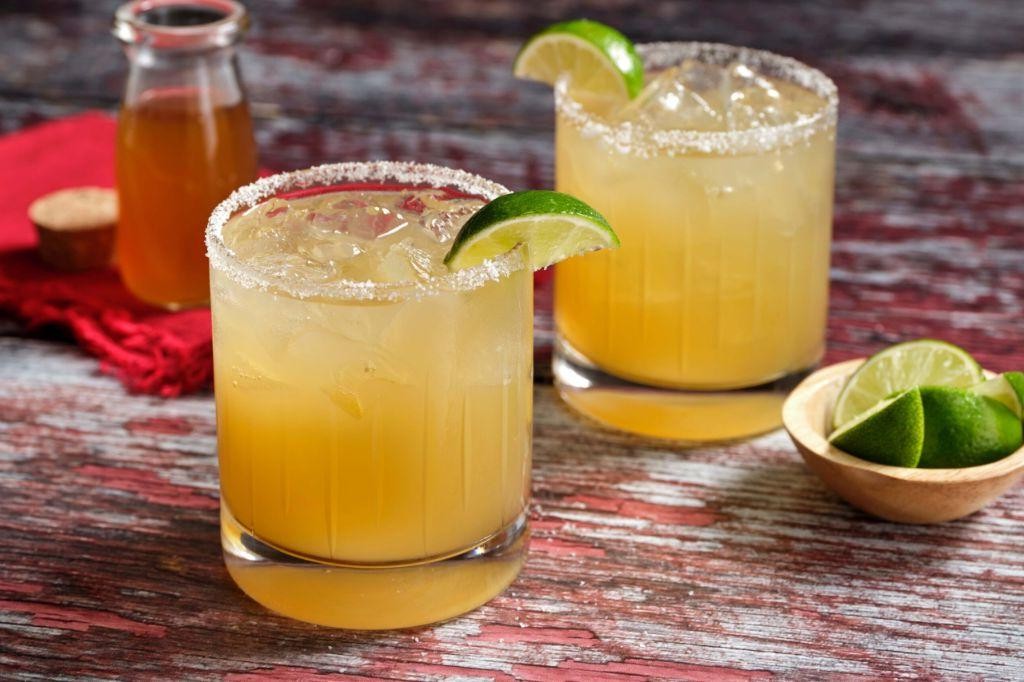
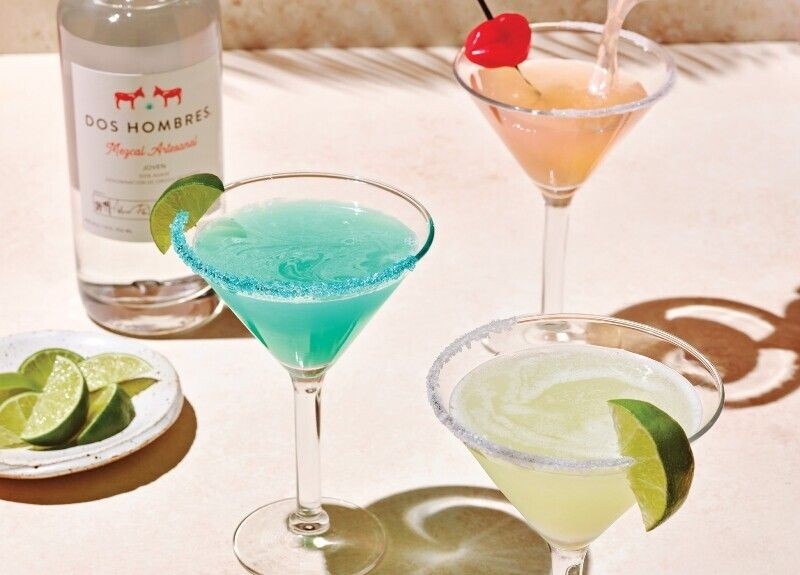
**Classic Applebee’s Perfect Margarita**
But first, let’s start with the OG. Our classic margarita recipe is a tried-and-true favorite that’s sure to please even the most discerning palates.
Classic Applebee’s Perfect Margarita
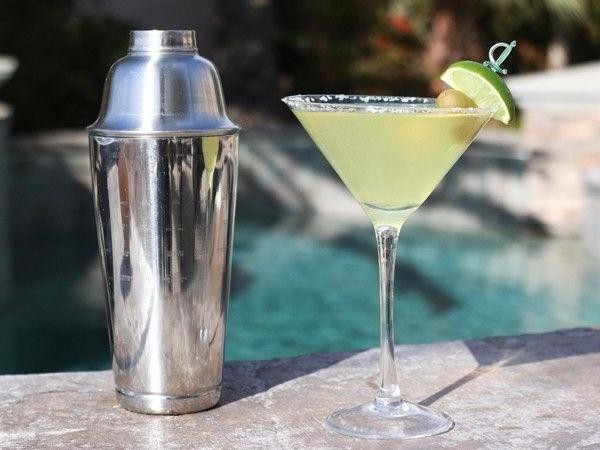
Experience the quintessential margarita with this recipe that’s sure to transport you to a tropical paradise.
Ingredients:
– 2 ounces tequila (preferably Patron or similar quality)
– 1 ounce freshly squeezed lime juice
– 1/2 ounce triple sec or Cointreau
– Salt, for rimming glass
– Ice
– Lime wedges, for garnish
Instructions:
1. Rim a rocks glass with salt.
2. In a cocktail shaker, combine tequila, lime juice, and triple sec.
3. Fill the shaker with ice and shake vigorously for 15-20 seconds to combine and chill ingredients.
4. Strain the mixture into the prepared glass.
5. Garnish with a lime wedge.
Cooking Time: None! This is a ready-to-enjoy cocktail recipe.
Spicy Jalapeño Applebee’s Margarita
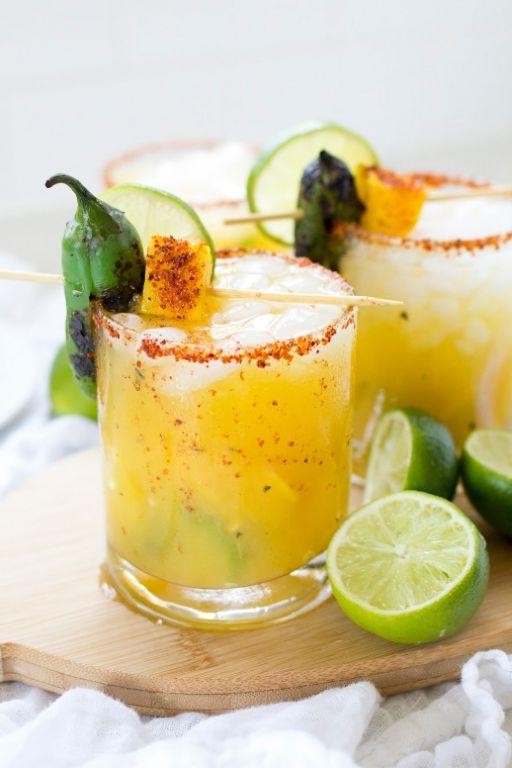
Take your margaritas to the next level with this spicy twist on a classic cocktail.
Ingredients:
– 2 ounces tequila
– 1 ounce jalapeño simple syrup (see note)
– 1/2 ounce apple cider liqueur
– Juice of 1 lime
– Salt, for rimming glass
– Ice
– Sliced jalapeños and lime wedges, for garnish
Instructions:
1. Rim a rocks glass with salt.
2. In a cocktail shaker, combine tequila, jalapeño simple syrup, apple cider liqueur, and lime juice.
3. Fill the shaker with ice and shake vigorously for 15-20 seconds.
4. Strain the mixture into the prepared glass.
5. Garnish with sliced jalapeños and a lime wedge.
Cooking Time: None! Just mix and enjoy!
Note: To make jalapeño simple syrup, combine 1 cup water with 1 cup sugar and 2-3 sliced jalapeños in a saucepan. Bring to a boil, then reduce heat and simmer for 10 minutes. Strain and let cool before using.
Strawberry Applebee’s Perfect Margarita
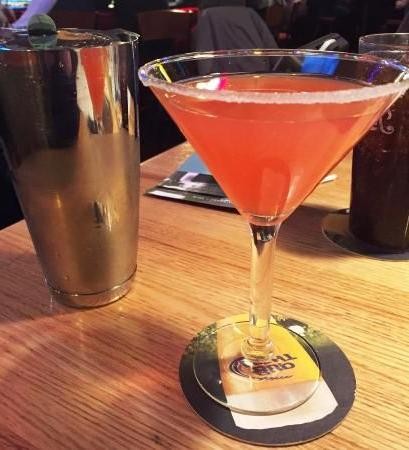
Celebrate the sweet taste of summer with this refreshing twist on the classic margarita.
Ingredients:
• 2 ounces tequila (silver or gold)
• 1 ounce freshly squeezed lime juice
• 1/2 ounce strawberry puree
• 1/2 ounce apple pucker liqueur
• Salt for rimming glass
• Lime wheel and fresh strawberries for garnish
Instructions:
1. Rim a rocks glass with salt.
2. In a cocktail shaker, combine tequila, lime juice, strawberry puree, and apple pucker liqueur.
3. Fill the shaker with ice and shake vigorously for 15-20 seconds.
4. Strain the mixture into the prepared glass.
5. Garnish with a lime wheel and fresh strawberries.
Cooking Time: None! This recipe is ready to serve in just a few minutes.
Mango Applebee’s Margarita with a Kick

Elevate your margarita game with this unique blend of tropical flavors, featuring sweet mango and tangy apple. This refreshing cocktail is perfect for warm weather or any occasion that calls for a little excitement.
Ingredients:
– 2 oz tequila
– 1 oz mango puree
– 1/2 oz lime juice
– 1/2 oz Applebee’s Margarita mix (or substitute with equal parts triple sec and simple syrup)
– 1/4 oz ginger liqueur (such as Domaine de Canton)
– Salt, for rimming glass
– Ice
– Lime wheel, for garnish
Instructions:
1. Rim a rocks glass with salt.
2. In a cocktail shaker, combine tequila, mango puree, lime juice, Applebee’s Margarita mix, and ginger liqueur.
3. Fill the shaker with ice and shake vigorously for 15-20 seconds.
4. Strain the mixture into the prepared glass.
5. Garnish with a lime wheel.
Cooking Time: None! This is a cocktail recipe.
Blueberry Applebee’s Margarita Twist
A refreshing twist on the classic margarita, this Blueberry Applebee’s Margarita combines the sweetness of blueberries and apples with a hint of spice. Perfect for sipping by the pool or at your next backyard BBQ!
Ingredients:
– 2 oz tequila
– 1 oz triple sec
– 1 oz freshly squeezed lime juice
– 1/2 cup fresh blueberries
– 1/4 cup apple cider syrup (or to taste)
– Salt, for rimming glass
– Ice
– Lime wheel, for garnish
Instructions:
1. Rim a rocks glass with salt.
2. In a cocktail shaker, combine tequila, triple sec, and lime juice. Add blueberries and muddle gently.
3. Add apple cider syrup and fill shaker with ice.
4. Shake vigorously for 15-20 seconds.
5. Strain into prepared glass and garnish with a lime wheel.
Cooking Time: None! Just shake, strain, and serve.
Pineapple Coconut Applebee’s Margarita

Escape to a tropical paradise with this refreshing twist on the classic margarita.
Ingredients:
– 2 oz tequila
– 1 oz coconut cream
– 1/2 oz pineapple juice
– 1/2 oz lime juice
– 1/2 oz agave syrup
– Salt, for rimming glass
– Fresh pineapple wedges and cherry halves, for garnish
Instructions:
1. Rim a rocks glass with salt.
2. In a cocktail shaker, combine tequila, coconut cream, pineapple juice, lime juice, and agave syrup.
3. Fill the shaker with ice and shake vigorously for 15-20 seconds.
4. Strain the mixture into the prepared glass.
5. Garnish with fresh pineapple wedges and cherry halves.
Cooking Time: None! This is a mixed drink recipe.
Watermelon Mint Applebee’s Margarita
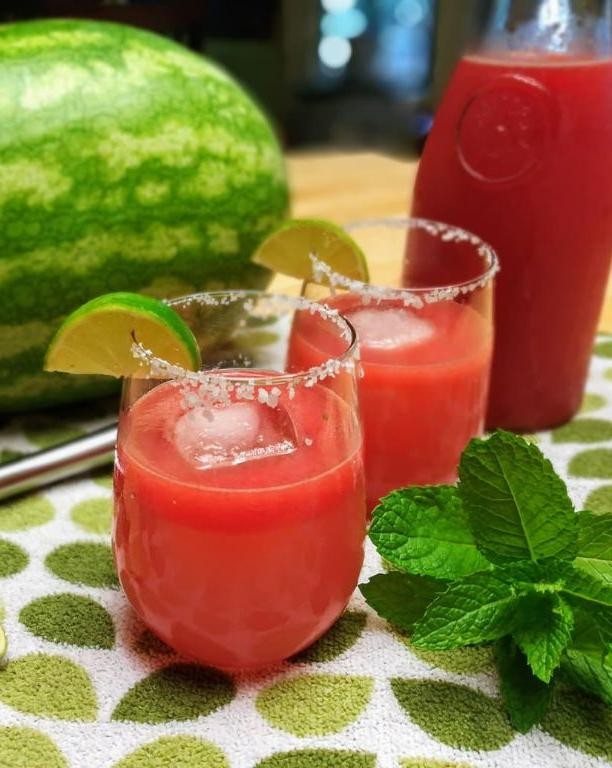
A refreshing twist on the classic margarita, this recipe combines the sweetness of watermelon and apple with the cooling sensation of mint.
Ingredients:
– 2 cups watermelon chunks
– 1/4 cup fresh mint leaves
– 1 ripe apple, peeled and chopped
– 2 ounces tequila
– 1 ounce lime juice
– 1/2 ounce agave nectar
– Salt for rimming glass
Instructions:
1. In a blender, combine watermelon chunks, mint leaves, and apple.
2. Blend until smooth and strain through a fine-mesh sieve into a bowl.
3. Rim a glass with salt.
4. Fill the glass with ice.
5. Add tequila, lime juice, and agave nectar to the glass.
6. Pour the watermelon mixture over the liquid ingredients.
7. Stir gently.
Cooking Time: None! This recipe is ready in just 5 minutes.
Peach Applebee’s Perfect Margarita
Experience the perfect blend of sweet and tangy with this refreshing twist on a classic margarita.
Ingredients:
– 2 ounces tequila
– 1 ounce peach puree
– 1/2 ounce fresh lime juice
– 1/2 ounce triple sec
– Salt for rimming glass
– Ice
– Fresh peach slices and mint leaves for garnish (optional)
Instructions:
1. Rim a rocks glass with salt.
2. In a cocktail shaker, combine tequila, peach puree, lime juice, and triple sec.
3. Fill the shaker with ice and shake vigorously for 15-20 seconds.
4. Strain the mixture into the prepared glass.
5. Garnish with fresh peach slices and mint leaves, if desired.
Cooking Time: None! This is a cocktail recipe, after all!
Enjoy your Peach Applebee’s Perfect Margarita!
Raspberry Lime Applebee’s Margarita
A refreshing twist on the classic margarita, this recipe combines the sweetness of raspberries and apples with the tartness of lime.
Ingredients:
– 2 ounces tequila
– 1 ounce triple sec
– 1 ounce fresh lime juice
– 1/2 cup raspberry puree
– 1/4 cup apple cider
– Salt for rimming glass
– Lime wheel, for garnish
– Fresh raspberries, for garnish
Instructions:
1. Rim a rocks glass with salt.
2. In a cocktail shaker, combine tequila, triple sec, lime juice, and raspberry puree. Fill with ice.
3. Shake vigorously for 15-20 seconds to combine and chill ingredients.
4. Strain the mixture into the prepared glass filled with ice.
5. Add apple cider and stir gently to combine.
6. Garnish with a lime wheel and fresh raspberries.
Cooking Time: None, as this is a cocktail recipe!
Blackberry Basil Applebee’s Margarita
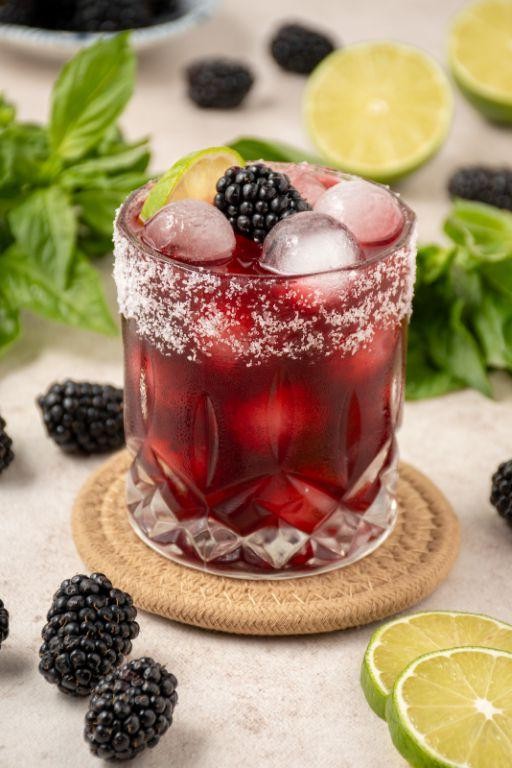
A twist on the classic margarita, this recipe combines the sweetness of blackberries with the brightness of basil and a hint of apple. Perfect for warm weather or as a unique cocktail for any occasion.
Ingredients:
– 2 ounces tequila
– 1 ounce lime juice
– 1/2 ounce triple sec
– 1/2 cup blackberry puree
– 1/4 cup fresh basil leaves, chopped
– 1/2 apple slice (such as Granny Smith), for garnish
– Salt, for rimming glass
Instructions:
1. Rim a rocks glass with salt.
2. In a cocktail shaker, combine tequila, lime juice, and triple sec.
3. Add blackberry puree and basil leaves to the shaker. Muddle gently to release flavors.
4. Fill shaker with ice and shake for 15-20 seconds.
5. Strain mixture into prepared glass.
6. Garnish with apple slice.
Cooking Time: None, as this is a cocktail!
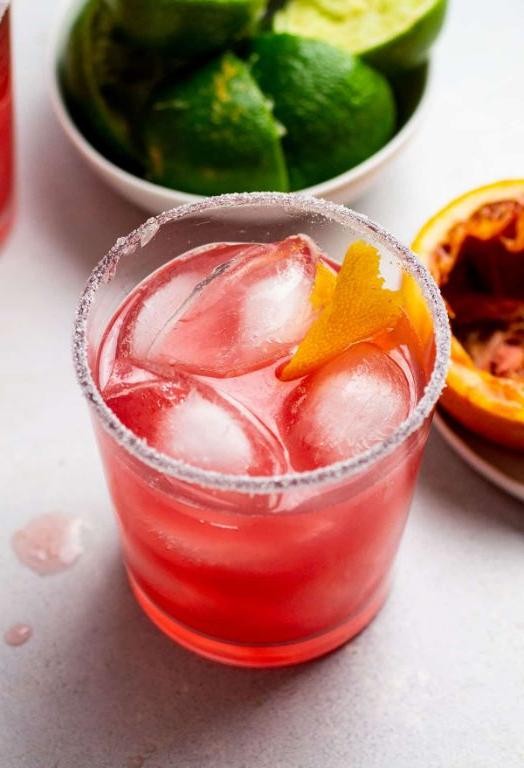
Grapefruit Rosemary Applebee’s Margarita
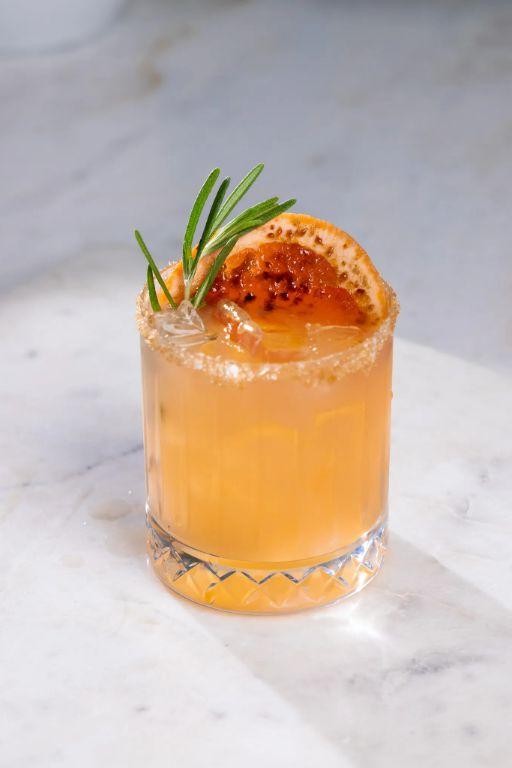
A twist on the classic margarita, this refreshing cocktail combines the tartness of grapefruit with the herbaceousness of rosemary, perfect for a warm evening or a special occasion.
Ingredients:
– 2 ounces tequila
– 1 ounce fresh grapefruit juice
– 1/2 ounce triple sec
– 1/2 ounce lime juice
– 1/4 cup simple syrup (equal parts water and granulated sugar, dissolved)
– 1/4 cup rosemary syrup (see below)
– Salt, for rimming glass
– Lime wheel, for garnish
– Fresh rosemary sprig, for garnish
Instructions:
1. Rim a rocks glass with salt.
2. In a cocktail shaker, combine tequila, grapefruit juice, triple sec, lime juice, and simple syrup.
3. Add 1/4 cup of the rosemary syrup (see below) to the shaker.
4. Fill the shaker with ice and shake until chilled.
5. Strain into the prepared glass.
6. Garnish with a lime wheel and a sprig of fresh rosemary.
Rosemary Syrup:
– 1 cup water
– 1 cup granulated sugar
– 1/4 cup fresh rosemary leaves
Combine ingredients in a saucepan, bringing to a boil over medium heat. Reduce heat and simmer for 5 minutes. Strain syrup through a fine-mesh sieve into a clean glass bottle. Store refrigerated for up to 2 weeks.
Kiwi Cucumber Applebee’s Margarita
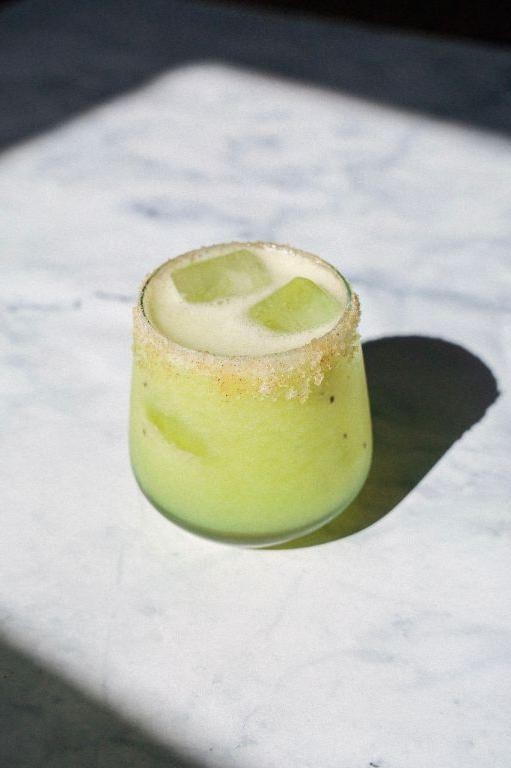
A sweet and tangy twist on the classic margarita, perfect for warm weather.
Pomegranate Applebee’s Perfect Margarita
Pomegranate Applebee’s Perfect Margarita Recipe
Summary: Elevate your margarita game with this refreshing twist, featuring the sweet and tangy flavors of pomegranate and apple.
Ingredients:
– 2 ounces tequila
– 1 ounce freshly squeezed lime juice
– 1/2 ounce triple sec
– 1/2 ounce pomegranate juice
– 1/4 ounce apple cider syrup (or to taste)
– Salt, for rimming glass
– Lime wheel, for garnish
– Pomegranate seeds and sliced apples, for garnish (optional)
Instructions:
1. Rim a rocks glass with salt.
2. In a cocktail shaker, combine tequila, lime juice, triple sec, pomegranate juice, and apple cider syrup.
3. Fill the shaker with ice and shake vigorously for 15-20 seconds.
4. Strain the mixture into the prepared glass.
5. Garnish with a lime wheel and, if desired, pomegranate seeds and sliced apples.
Cooking Time: None! This is a mixed drink recipe.
Cherry Vanilla Applebee’s Margarita

Elevate your margarita game with this unique and delicious twist on the classic cocktail, featuring cherry and vanilla flavors.
Ingredients:
– 2 ounces tequila
– 1 ounce lime juice
– 1/2 ounce triple sec
– 1/2 ounce cherry liqueur (such as Cherry Heering)
– 1/4 ounce vanilla-flavored simple syrup
– Salt for rimming glass
– Lime wheel and cherry, for garnish
Instructions:
1. Rim a rocks glass with salt.
2. In a cocktail shaker filled with ice, combine tequila, lime juice, triple sec, cherry liqueur, and vanilla simple syrup.
3. Shake vigorously for 15-20 seconds to combine and chill ingredients.
4. Strain the mixture into the prepared glass.
5. Garnish with a lime wheel and cherry.
Cooking Time: None required!
Passion Fruit Applebee’s Margarita
Passion Fruit Applebee’s Margarita Recipe
Escape to a tropical paradise with this refreshing twist on the classic margarita, combining the sweetness of passion fruit and applebee’s with the tanginess of tequila.
Ingredients:
– 2 oz tequila
– 1 oz passion fruit puree
– 1/2 oz freshly squeezed lime juice
– 1/2 oz agave syrup
– Salt for rimming glass
– Fresh mint leaves for garnish
– Ice
Instructions:
1. Rim a rocks glass with salt.
2. In a cocktail shaker, combine tequila, passion fruit puree, lime juice, and agave syrup.
3. Fill the shaker with ice and shake vigorously for 10-15 seconds.
4. Strain the mixture into the prepared glass.
5. Garnish with fresh mint leaves.
Cooking Time: None! This is a cocktail recipe, not a cooking recipe.
Enjoy your Passion Fruit Applebee’s Margarita!
Guava Applebee’s Perfect Margarita

Elevate your margarita game with this tropical twist, combining the sweetness of guava and the crispness of apple.
Ingredients:
– 2 ounces tequila (100% agave recommended)
– 1 ounce freshly squeezed lime juice
– 1/2 ounce triple sec or Cointreau
– 1/2 ounce guava puree
– Salt, for rimming glass
– Lime wheel, for garnish
– Fresh guava slices, for garnish
Instructions:
1. Rim a rocks glass with salt.
2. In a cocktail shaker, combine tequila, lime juice, triple sec, and guava puree.
3. Fill the shaker with ice and shake vigorously for 15-20 seconds.
4. Strain the mixture into the prepared glass.
5. Garnish with a lime wheel and fresh guava slices.
Cooking Time: None! This margarita is ready to be enjoyed in mere minutes.
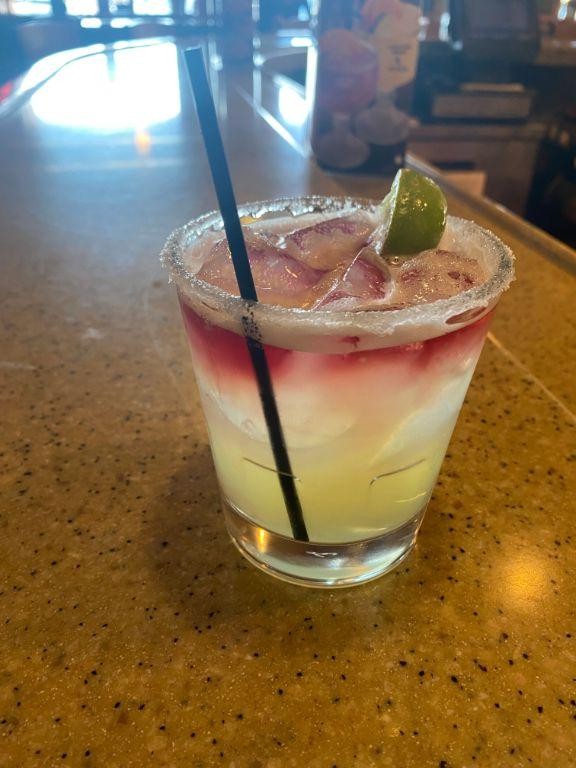
Blood Orange Applebee’s Margarita
Elevate your cocktail game with this refreshing twist on the classic margarita, featuring the bold flavors of blood orange and crisp apple.
Ingredients:
– 2 ounces tequila
– 1 ounce blood orange juice
– 1/2 ounce lime juice
– 1/2 ounce agave nectar
– 1/4 ounce triple sec
– Salt for rimming glass (optional)
– Ice
– Fresh apple slice or wheel, for garnish
Instructions:
1. Rim a rocks glass with salt, if desired.
2. In a cocktail shaker, combine tequila, blood orange juice, lime juice, and agave nectar.
3. Add ice to the shaker and shake vigorously for 15-20 seconds.
4. Strain the mixture into the prepared glass.
5. Float the triple sec on top of the margarita by slowly pouring it over the back of a spoon.
6. Garnish with a fresh apple slice or wheel.
Cooking Time: None (ready in 5 minutes)
Honey Ginger Applebee’s Margarita
Experience the perfect blend of sweet and savory with this unique margarita recipe, featuring the warmth of honey and ginger.
Ingredients:
– 2 ounces tequila
– 1 ounce fresh lime juice
– 1/2 ounce honey syrup (1:1 honey and water, dissolved)
– 1/2 ounce fresh ginger liqueur
– 1/2 ounce apple cider syrup (1:1 apple cider and water, dissolved)
– Salt for rimming glass
– Lime wheel and sprig of fresh ginger for garnish
Instructions:
1. Rim a rocks glass with salt.
2. In a cocktail shaker, combine tequila, lime juice, honey syrup, and ginger liqueur.
3. Add ice to the shaker and shake vigorously for 10-12 seconds.
4. Strain the mixture into the prepared glass.
5. Top with apple cider syrup and stir gently.
6. Garnish with a lime wheel and sprig of fresh ginger.
Cooking Time: None (this is a cocktail recipe!)
Lavender Lemon Applebee’s Margarita
Escape to a sunny afternoon with this refreshing twist on the classic margarita, featuring the subtle sweetness of apples and the soothing charm of lavender.
Ingredients:
– 2 oz tequila
– 1 oz freshly squeezed lemon juice
– 1/2 oz apple cider syrup (see note)
– 1/4 oz lavender syrup (see note)
– Salt, for rimming glass
– Ice
– Lime wheel, for garnish
– Fresh lavender sprig, for garnish
Instructions:
1. Rim a rocks glass with salt.
2. In a cocktail shaker, combine tequila, lemon juice, apple cider syrup, and lavender syrup.
3. Fill the shaker with ice and shake until chilled.
4. Strain the mixture into the prepared glass.
5. Garnish with a lime wheel and a fresh lavender sprig.
Cooking Time: 5 minutes
Note: To make apple cider syrup, combine 1 cup apple cider with 1 cup granulated sugar in a saucepan. Bring to a boil, then reduce heat and simmer until the mixture thickens. Strain and let cool. For lavender syrup, combine 1 cup water with 1 cup granulated sugar and 1/4 cup dried lavender buds in a saucepan. Bring to a boil, then remove from heat and let steep for 10 minutes. Strain and let cool.
Cantaloupe Applebee’s Margarita Refresher
Savor the sweet and tangy flavors of summer with this refreshing twist on a classic margarita. This Cantaloupe Applebee’s Margarita Refresher is perfect for warm weather gatherings or as a revitalizing pick-me-up any time of the year.
Ingredients:
– 2 cups cantaloupe chunks
– 1 cup apple juice
– 1/2 cup tequila (silver or gold)
– 1/4 cup lime juice
– 1/4 cup simple syrup (equal parts water and granulated sugar, dissolved)
– Salt, for rimming glass
– Lime wedges, for garnish
Instructions:
1. In a blender, combine cantaloupe chunks, apple juice, tequila, lime juice, and simple syrup. Blend until smooth.
2. Rim a highball glass with salt.
3. Pour the Cantaloupe Applebee’s Margarita Refresher into the prepared glass.
4. Garnish with a lime wedge.
Cooking Time: 5 minutes (prep time only)
Summary
Get ready to shake things up with these 20 refreshing Applebee’s Perfect Margarita recipes, each with a spicy twist! From classic margaritas to fruity and floral variations, there’s something for every taste. Try the Spicy Jalapeño Applebee’s Margarita or the Strawberry Applebee’s Perfect Margarita for a sweet and tangy treat. Or, spice things up with the Mango Applebee’s Margarita with a Kick or the Pineapple Coconut Applebee’s Margarita for a tropical escape. Whatever your taste, these margaritas are sure to quench your thirst and satisfy your cravings.