Are you looking for a delicious and versatile sauce to elevate your dishes? Look no further than romesco! This creamy, nutty sauce has its roots in Spanish cuisine, but we’ve taken it to the next level with 18 creative twists that are sure to impress. From classic roasted pepper romesco to spicy chipotle romesco for tacos, and from grilled tomato romesco with fresh herbs to sweet and tangy romesco with honey, there’s a flavor combination to suit every taste.
In this article, we’ll explore the world of romesco sauce, providing recipes and inspiration for using this tasty condiment in everything from dips and spreads to marinades and finishing sauces. Whether you’re a seasoned chef or just starting out in the kitchen, these 18 creamy romesco sauce recipes with a twist are sure to become new favorites.
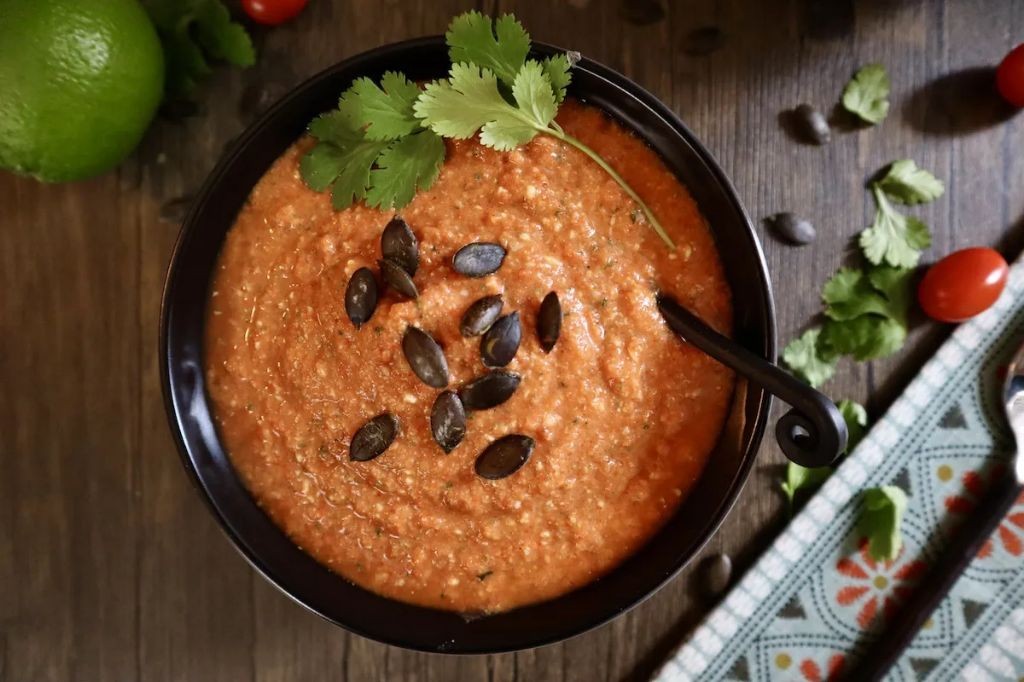
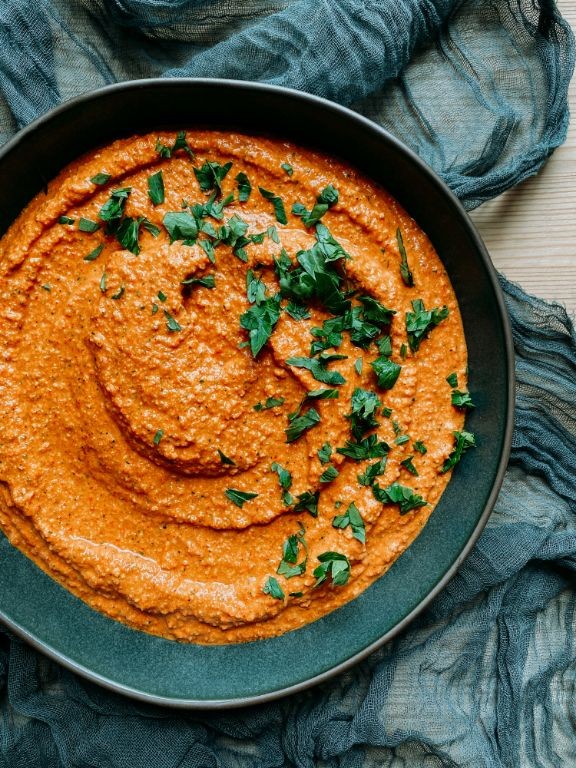
Classic Spanish Romesco Sauce with Roasted Peppers

Romesco sauce is a rich and smoky condiment originating from Catalonia, Spain. This recipe combines roasted peppers with aromatic spices and nuts to create a flavorful accompaniment for tapas, grilled meats, or vegetables.
Ingredients:
• 2 red bell peppers
• 1/4 cup almonds
• 1/4 cup hazelnuts
• 2 cloves garlic, minced
• 1 tablespoon olive oil
• 1 teaspoon smoked paprika
• Salt and pepper to taste
• 2 tablespoons tomato paste
• 2 tablespoons sherry vinegar (or red wine vinegar)
• 1/4 cup water
Instructions:
1. Preheat oven to 425°F (220°C).
2. Roast peppers for 30-40 minutes, or until charred and blistered.
3. Remove skin, seeds, and membranes; chop into small pieces.
4. In a blender, combine roasted peppers, almonds, hazelnuts, garlic, olive oil, smoked paprika, salt, and pepper. Blend until smooth.
5. Add tomato paste, vinegar, and water. Blend until well combined.
6. Taste and adjust seasoning as needed.
Cooking Time: 1 hour 15 minutes (including roasting peppers)
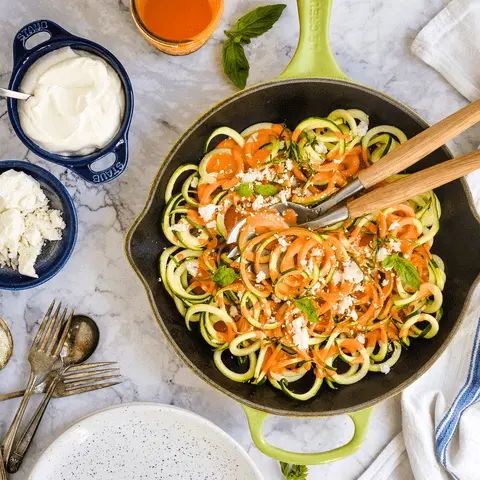
Smoky Almond Romesco Sauce with Grilled Vegetables

This smoky and nutty romesco sauce pairs perfectly with a variety of grilled vegetables, adding a depth of flavor to any meal. This easy-to-make recipe combines the rich flavors of roasted red peppers, almonds, garlic, and smoked paprika.
Ingredients:
– 2 large red bell peppers
– 1/4 cup sliced almonds
– 3 cloves garlic, peeled
– 2 tablespoons olive oil
– 2 teaspoons smoked paprika
– Salt and pepper to taste
– Grilled vegetables (such as zucchini, eggplant, bell peppers, or portobello mushrooms)
Instructions:
1. Preheat oven to 425°F (220°C).
2. Roast the red bell peppers for 30-40 minutes, or until skin is blistered and charred.
3. Peel off the skin, remove seeds, and chop into small pieces.
4. In a blender or food processor, combine roasted peppers, almonds, garlic, olive oil, smoked paprika, salt, and pepper.
5. Blend until smooth, adjusting seasoning as needed.
6. Grill your favorite vegetables using your preferred method.
7. Serve the romesco sauce with grilled vegetables, garnished with fresh parsley or basil if desired.
Cooking Time: 40 minutes
Spicy Romesco Sauce with Calabrian Chilies
This Spicy Romesco Sauce with Calabrian Chilies is a bold and flavorful condiment that adds a kick to any dish. Perfect for topping grilled meats, vegetables, or as a dip for crudités.
Ingredients:
– 2 cups roasted red bell peppers (from jar or fresh)
– 1/4 cup Calabrian chilies, seeded and chopped
– 2 cloves garlic, minced
– 1 tablespoon olive oil
– 1 tablespoon sherry vinegar
– Salt and pepper to taste
Instructions:
1. In a blender or food processor, combine roasted red bell peppers, Calabrian chilies, garlic, and olive oil.
2. Blend until smooth, stopping to scrape down the sides of the blender as needed.
3. Add sherry vinegar and season with salt and pepper to taste.
4. Refrigerate for at least 30 minutes to allow flavors to meld together.
5. Serve chilled or at room temperature.
Cooking Time: None
Vegan Romesco Sauce with Toasted Hazelnuts
Romesco sauce is a classic Spanish condiment made from roasted red peppers, garlic, and hazelnuts. This vegan version adds a rich, nutty flavor profile while maintaining the traditional smoky taste.
Ingredients:
– 2 large red bell peppers
– 1/4 cup raw hazelnuts
– 2 cloves garlic, peeled and minced
– 1/4 cup olive oil
– 2 tablespoons lemon juice
– Salt and pepper to taste
Instructions:
1. Preheat oven to 425°F (220°C).
2. Roast the red bell peppers for 30-40 minutes, or until charred.
3. Remove peppers from oven and let cool. Peel off skin, discarding it, and chop into small pieces.
4. Toast hazelnuts in a dry skillet over medium heat for 5-7 minutes, stirring frequently, until fragrant and lightly browned.
5. In a blender or food processor, combine roasted peppers, toasted hazelnuts, garlic, olive oil, lemon juice, salt, and pepper.
6. Blend until smooth and creamy, adding water as needed to achieve desired consistency.
Cooking Time: 40-50 minutes
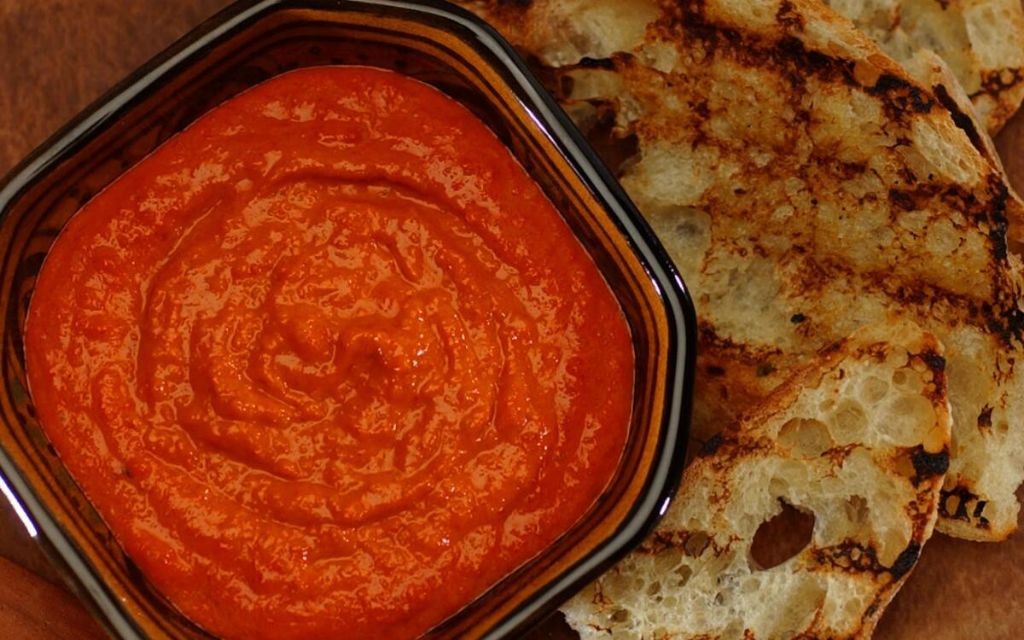
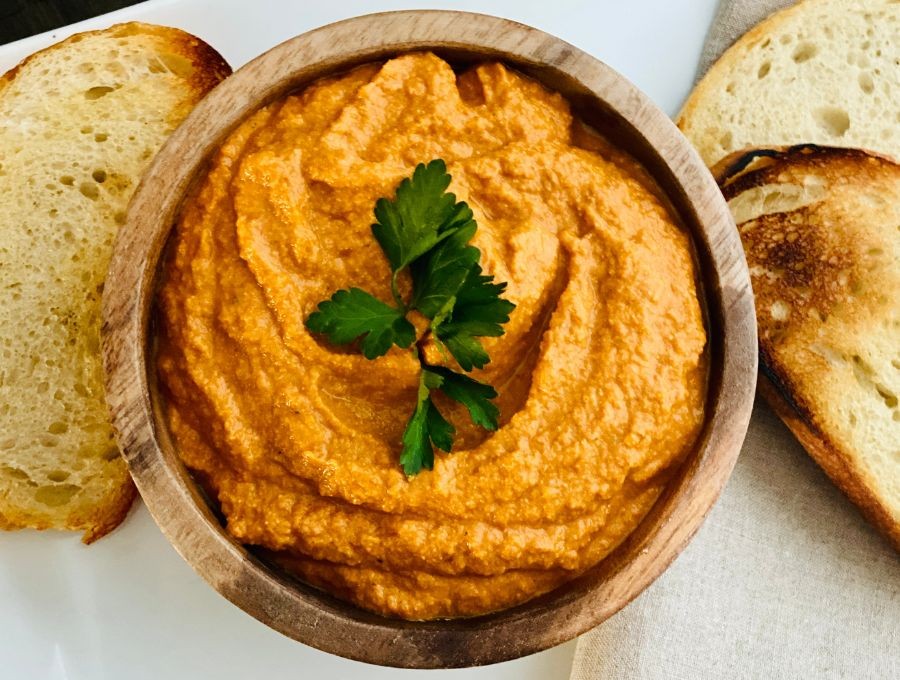
Roasted Garlic Romesco Sauce for Dipping
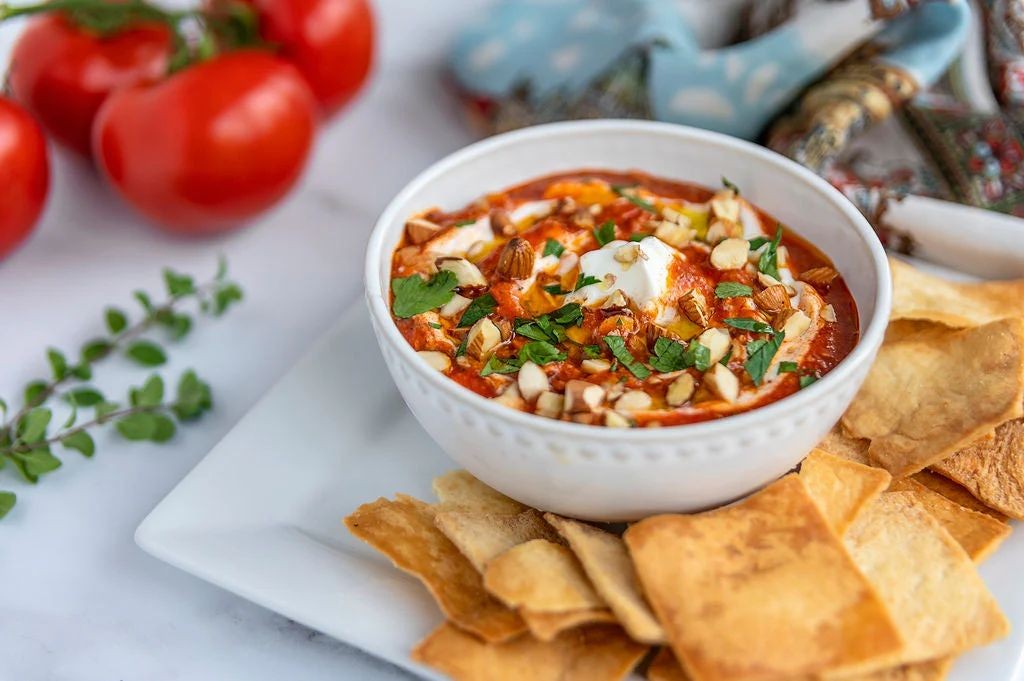
Elevate your snack game with this rich and creamy roasted garlic romesco sauce, perfect for dipping crudités, pita chips, or vegetables. This classic Spanish-inspired condiment is a flavorful twist on traditional hummus.
Ingredients:
– 4-6 cloves of garlic
– 1/2 cup roasted red peppers (homemade or store-bought)
– 1/4 cup olive oil
– 2 tablespoons lemon juice
– 2 cloves of fresh parsley, chopped
– Salt and pepper to taste
Instructions:
1. Preheat the oven to 400°F (200°C).
2. Cut the top off each garlic clove, drizzle with olive oil, and wrap in foil.
3. Roast for 30-40 minutes or until tender and caramelized.
4. Remove from the oven and let cool slightly.
5. In a blender or food processor, combine roasted garlic, red peppers, lemon juice, parsley, salt, and pepper.
6. Blend until smooth and creamy, adding more olive oil if needed to achieve desired consistency.
Cooking Time: 30-40 minutes (roasting time) + 5-10 minutes blending
Grilled Tomato Romesco Sauce with Fresh Herbs

Elevate your dishes with this vibrant and flavorful sauce, perfect for grilled meats, vegetables, or as a dip. This recipe combines the natural sweetness of tomatoes with the richness of roasted red peppers and the brightness of fresh herbs.
Ingredients:
– 2 large tomatoes, cored and halved
– 1 large red bell pepper, seeded and chopped
– 3 cloves garlic, minced
– 1/4 cup olive oil
– 2 tablespoons lemon juice
– 1 teaspoon smoked paprika
– Salt and pepper to taste
– Fresh parsley, basil, or cilantro leaves for garnish
Instructions:
1. Preheat grill to medium-high heat.
2. Grill tomatoes and red bell pepper until charred and slightly softened (about 5 minutes per side).
3. Peel off skin from the roasted peppers and place them in a blender with garlic, olive oil, lemon juice, smoked paprika, salt, and pepper.
4. Blend until smooth, then stir in grilled tomato halves.
5. Taste and adjust seasoning as needed.
6. Garnish with fresh herbs before serving.
Cooking Time: 15-20 minutes
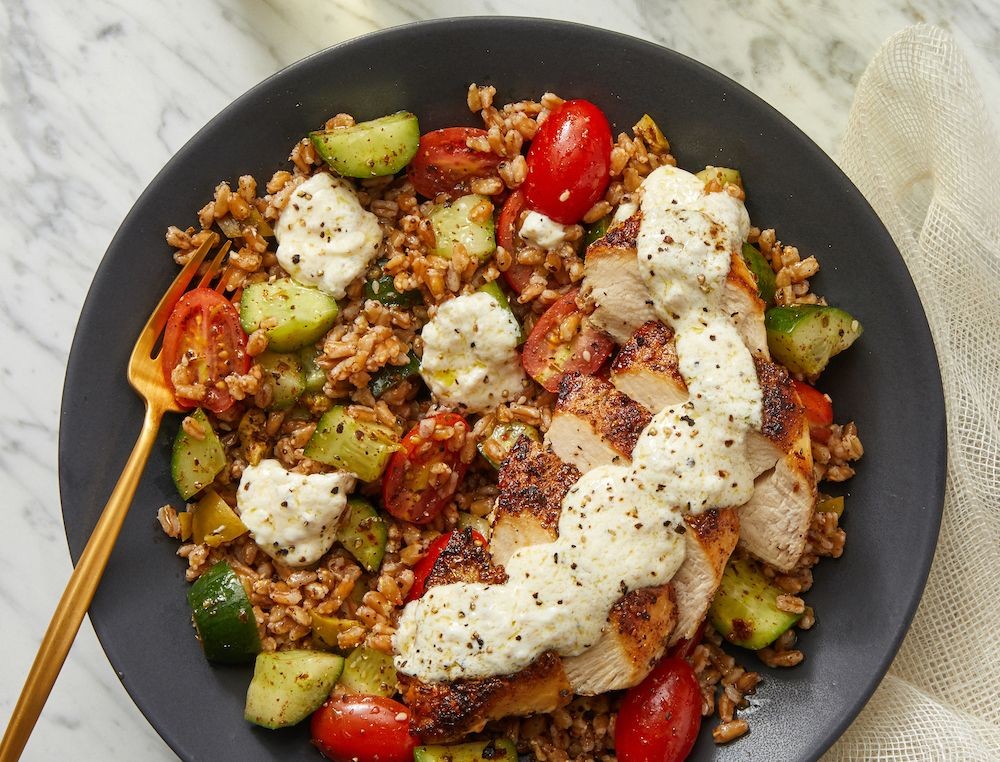
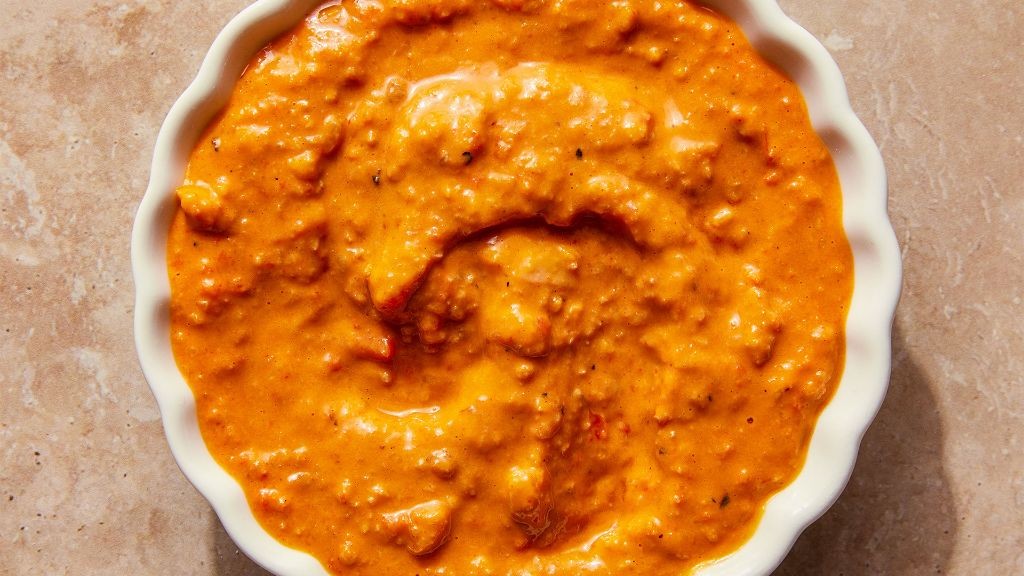
Creamy Romesco Sauce with Greek Yogurt
Elevate your meals with this rich and creamy sauce that combines the classic flavors of romesco with a tangy twist from Greek yogurt. Perfect for dipping vegetables, crackers, or as a topping for grilled meats or vegetables.
Ingredients:
– 1/2 cup roasted red peppers (peeled and chopped)
– 1/4 cup almonds
– 2 cloves garlic, minced
– 1 tablespoon olive oil
– 1 cup Greek yogurt
– 1 teaspoon smoked paprika
– Salt and pepper to taste
– Fresh parsley or cilantro for garnish (optional)
Instructions:
1. In a blender or food processor, combine roasted red peppers, almonds, garlic, and olive oil. Blend until smooth.
2. Add the Greek yogurt, smoked paprika, salt, and pepper. Blend until well combined and creamy.
3. Taste and adjust seasoning as needed.
4. Serve immediately or refrigerate for up to 3 days.
Cooking Time: None (just blend and serve!)
Charred Red Pepper Romesco Sauce with Sherry Vinegar
Charred Red Pepper Romesco Sauce with Sherry Vinegar: A Smoky, Tangy Condiment
Romesco sauce is a classic Catalan condiment that’s perfect for topping grilled meats, vegetables, and cheeses. This charred red pepper version adds a smoky depth and tanginess from the sherry vinegar.
Ingredients:
– 4-6 red bell peppers
– 1/2 cup almonds
– 1/4 cup olive oil
– 2 cloves garlic, minced
– 1 tablespoon sherry vinegar
– Salt to taste
Instructions:
1. Preheat oven to 400°F (200°C).
2. Place the red bell peppers on a baking sheet and char for 30-40 minutes, or until the skin is blistered and charred.
3. Remove the peppers from the oven and let them cool. Peel off the skin, discarding it, and place the flesh in a blender or food processor.
4. Add the almonds, olive oil, garlic, sherry vinegar, and salt to the blender.
5. Blend until smooth, stopping to scrape down the sides of the blender as needed.
6. Taste and adjust the seasoning if desired.
Cooking Time: 30-40 minutes
Smoked Paprika Romesco Sauce for Seafood
Elevate your seafood dishes with this smoky and savory romesco sauce, perfect for grilled or pan-seared fish, shrimp, or scallops. This rich and aromatic condiment is infused with the deep flavor of smoked paprika.
Ingredients:
– 1/2 cup roasted red peppers (canned or fresh)
– 1/4 cup olive oil
– 2 cloves garlic, minced
– 1 tablespoon smoked paprika
– 1 teaspoon lemon juice
– Salt and pepper to taste
Instructions:
1. Preheat oven to 375°F (190°C).
2. In a blender or food processor, combine roasted red peppers, garlic, olive oil, smoked paprika, and lemon juice.
3. Blend until smooth and creamy, adding salt and pepper to taste.
4. Transfer the sauce to a serving bowl or jar.
5. Refrigerate for at least 30 minutes to allow flavors to meld together.
Cooking Time: None needed! This sauce is ready when blended.
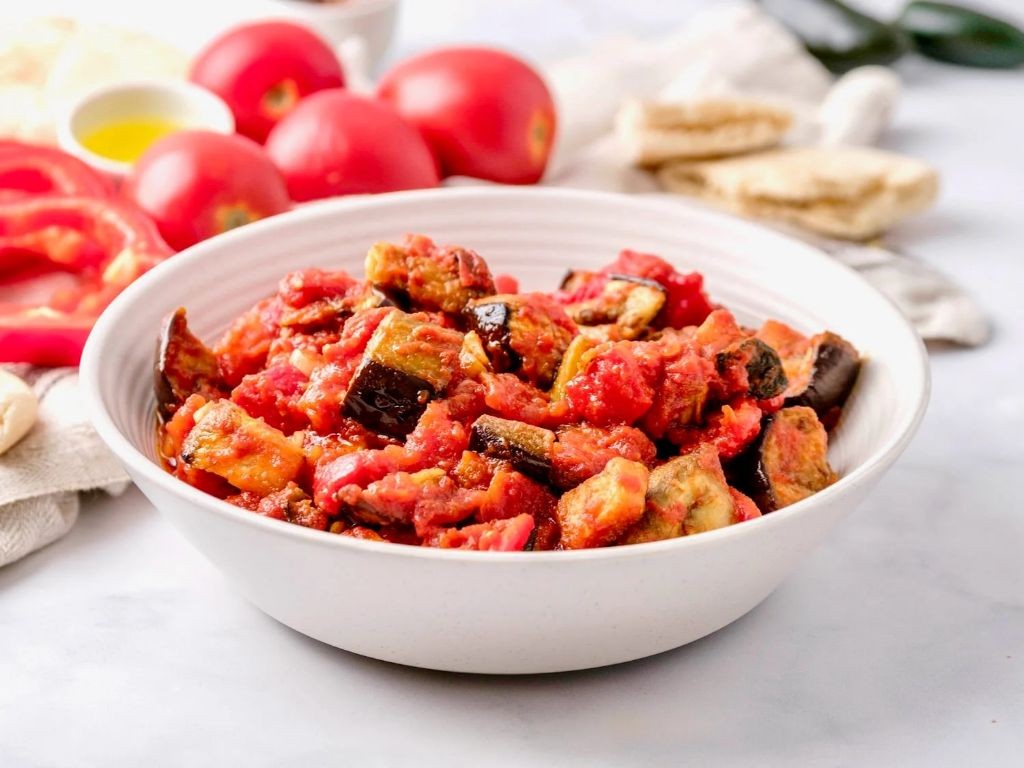
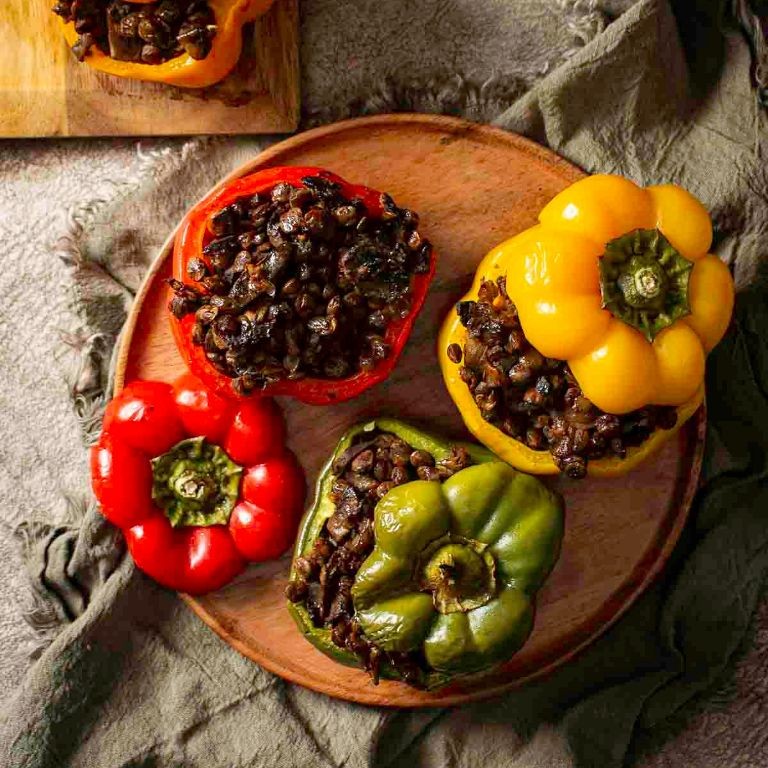
Roasted Eggplant Romesco Sauce with Pomegranate
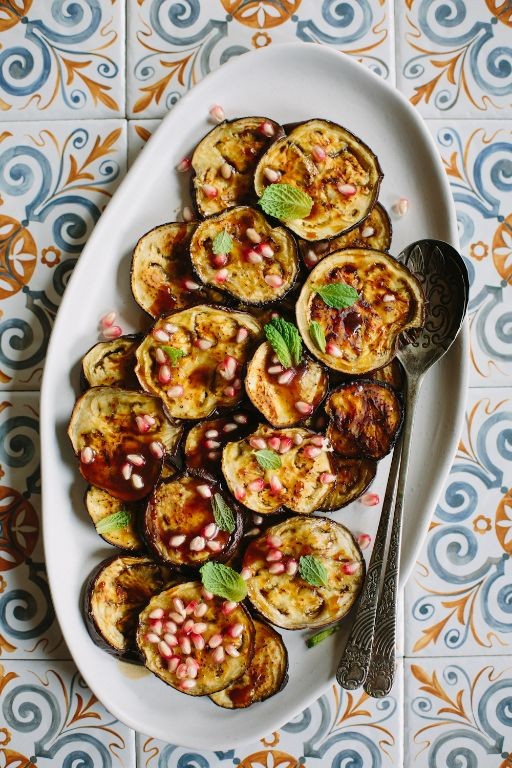
Roasted Eggplant Romesco Sauce with Pomegranate: A flavorful and vibrant twist on the classic Spanish romesco sauce, this recipe combines roasted eggplant with sweet pomegranate seeds and a hint of smokiness.
Ingredients:
– 2 large eggplants
– 1/4 cup olive oil
– 2 cloves garlic, minced
– 1 cup pomegranate seeds
– 1/2 cup roasted red peppers (from a jar or homemade)
– 1 tablespoon lemon juice
– Salt and pepper to taste
– Optional: crusty bread or crackers for serving
Instructions:
1. Preheat oven to 400°F (200°C).
2. Cut the eggplants in half lengthwise and place on a baking sheet lined with parchment paper.
3. Drizzle olive oil over the eggplant, then sprinkle with minced garlic.
4. Roast the eggplant for 30-40 minutes, or until tender and slightly caramelized.
5. In a blender or food processor, combine roasted eggplant, pomegranate seeds, roasted red peppers, lemon juice, salt, and pepper.
6. Blend until smooth, adjusting seasoning to taste.
7. Serve warm with crusty bread or crackers, or use as a dip for vegetables.
Cooking Time: 40 minutes
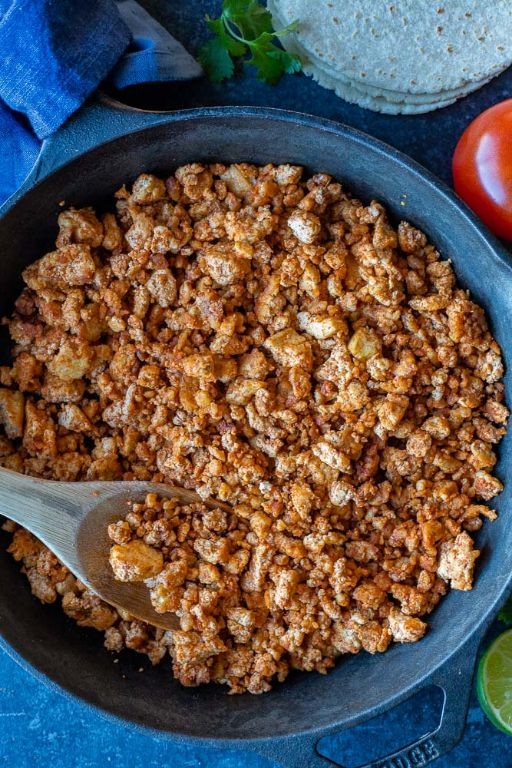
Spicy Chipotle Romesco Sauce for Tacos
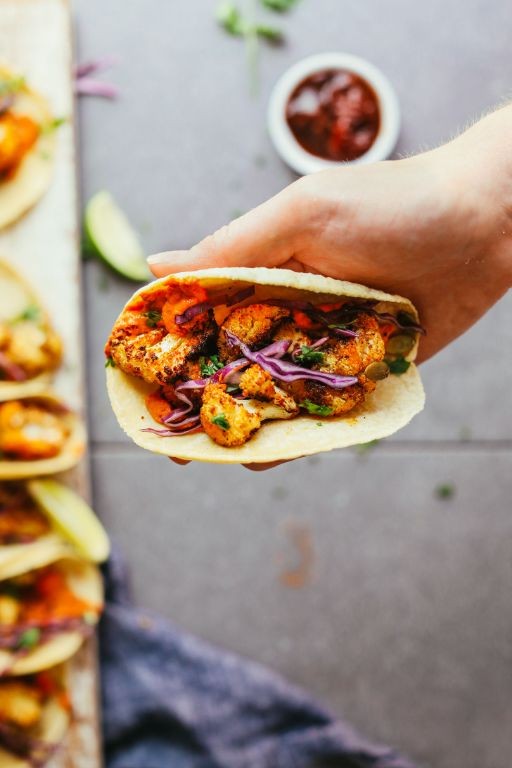
Elevate your taco game with this smoky and spicy romesco sauce. This addictive condiment is made with chipotle peppers, roasted vegetables, and a hint of garlic, perfect for topping tacos, grilled meats, or veggies.
Ingredients:
– 1/2 cup roasted red bell pepper
– 1/4 cup roasted garlic cloves
– 1/4 cup chopped fresh cilantro
– 1 chipotle pepper in adobo sauce, finely chopped
– 1 tablespoon olive oil
– 2 tablespoons lime juice
– Salt and pepper to taste
Instructions:
1. Preheat oven to 400°F (200°C). Roast the red bell pepper for 30-40 minutes or until charred.
2. Remove skin, seeds, and membranes from the roasted red bell pepper and place in a blender with roasted garlic cloves, cilantro, chipotle pepper, olive oil, and lime juice.
3. Blend until smooth, adjusting seasoning as needed.
4. Refrigerate for at least 30 minutes to allow flavors to meld together.
Cooking Time: 10-15 minutes (roasting time)
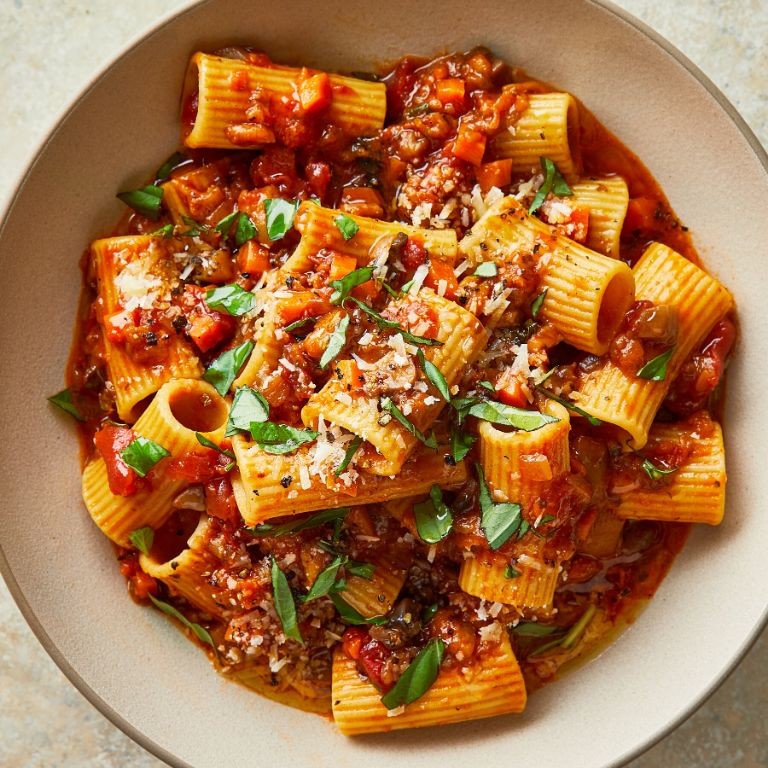
Sun-Dried Tomato Romesco Sauce with Basil

Elevate your dishes with this vibrant and flavorful sauce, perfect for pasta, grilled meats, or as a dip. This sun-dried tomato romesco sauce combines the natural sweetness of tomatoes with the savory richness of roasted red peppers and garlic.
Ingredients:
– 1/2 cup sun-dried tomatoes (packed in oil)
– 1/4 cup roasted red pepper
– 3 cloves garlic, peeled and minced
– 1 tablespoon olive oil
– 2 tablespoons lemon juice
– 1 teaspoon smoked paprika
– Salt and pepper to taste
– Fresh basil leaves, chopped (optional)
Instructions:
1. Preheat oven to 375°F (190°C).
2. In a blender or food processor, combine sun-dried tomatoes, roasted red pepper, garlic, olive oil, lemon juice, smoked paprika, salt, and pepper.
3. Blend until smooth, stopping to scrape down the sides of the blender as needed.
4. Taste and adjust seasoning if desired.
5. Garnish with chopped fresh basil leaves, if desired.
Cooking Time: 10 minutes
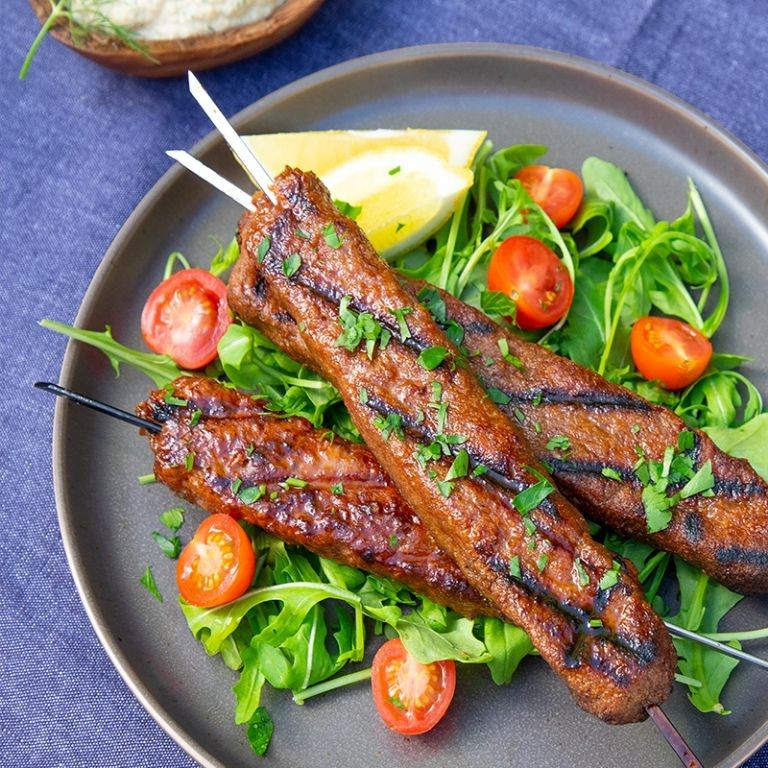
Toasted Walnut Romesco Sauce for Grilled Meats
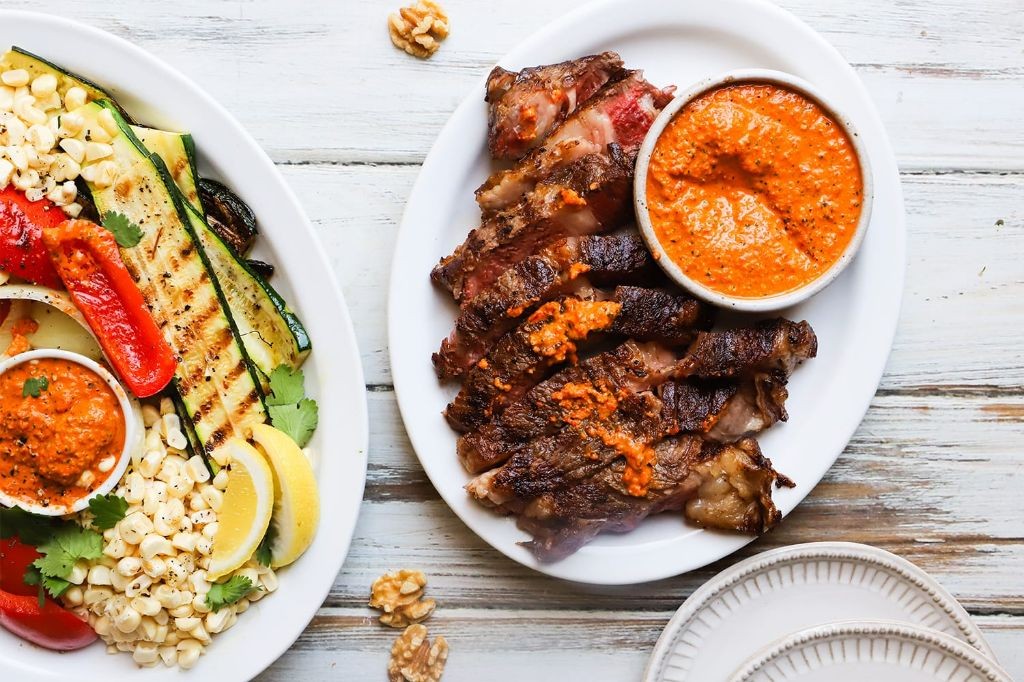
Elevate your grilled meats with a rich and nutty flavor profile from this simple-to-make Toasted Walnut Romesco Sauce. This Spanish-inspired condiment is perfect for slathering onto burgers, steaks, or chicken.
Ingredients:
– 1/2 cup roasted red peppers (from a jar or homemade)
– 1/4 cup toasted walnuts
– 1/4 cup olive oil
– 2 cloves garlic, minced
– 1 tablespoon sherry vinegar
– Salt and pepper to taste
Instructions:
1. Preheat oven to 350°F (175°C).
2. Spread the toasted walnuts on a baking sheet and toast for 5-7 minutes, or until fragrant.
3. In a blender or food processor, combine roasted red peppers, garlic, sherry vinegar, salt, and pepper. Blend until smooth.
4. With the blender or food processor running, slowly pour in the olive oil and toasted walnuts. Continue blending until well combined.
5. Taste and adjust seasoning as needed.
Cooking Time: 10-15 minutes (including toasting time)
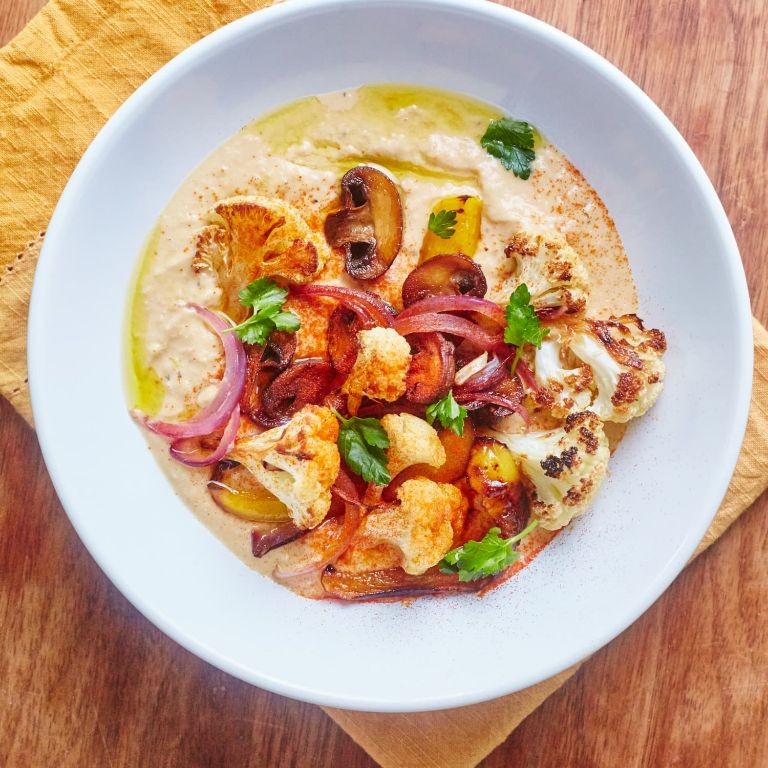
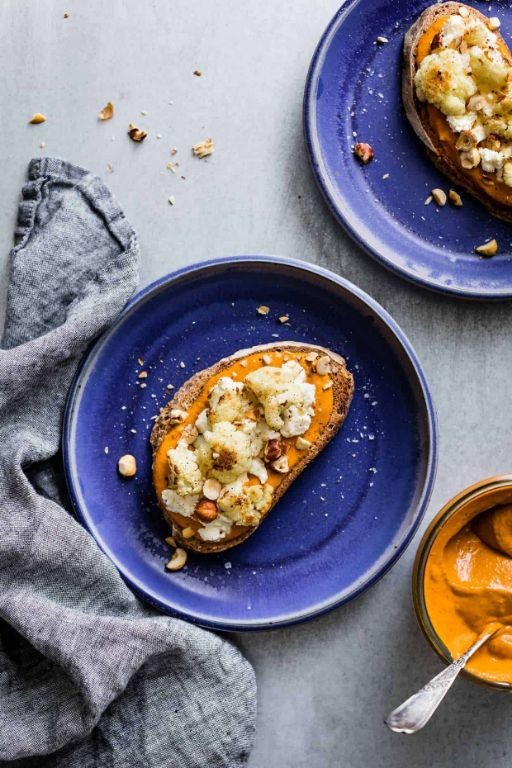
Roasted Cauliflower Romesco Sauce with Turmeric
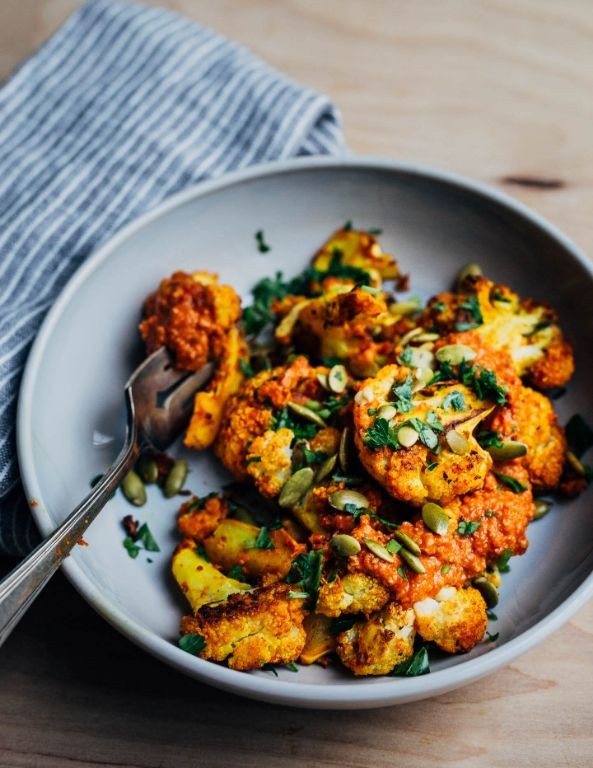
Transform your meals with this vibrant, flavorful sauce, featuring roasted cauliflower and the warmth of turmeric. Perfect for dipping, spreading, or using as a condiment.
Ingredients:
– 1 head of cauliflower
– 2 cloves of garlic, peeled
– 1/4 cup of almonds
– 1/4 cup of olive oil
– 2 tablespoons of red pepper flakes
– 1 teaspoon of ground cumin
– 1 teaspoon of smoked paprika
– 1/2 teaspoon of salt
– 1/4 teaspoon of black pepper
– 1/2 teaspoon of turmeric powder
– 2 tablespoons of freshly squeezed lemon juice
Instructions:
1. Preheat oven to 425°F (220°C).
2. Toss cauliflower florets with olive oil, garlic, almonds, red pepper flakes, cumin, smoked paprika, salt, and black pepper on a baking sheet.
3. Roast for 20-25 minutes or until tender and caramelized.
4. Allow the roasted cauliflower to cool slightly.
5. Blend cooled cauliflower with lemon juice, turmeric powder, and 1 tablespoon of water in a blender or food processor.
6. Taste and adjust seasoning as needed.
Cooking Time: 20-25 minutes
Avocado Romesco Sauce with Lime Zest

This recipe brings together the richness of avocados, the smokiness of roasted red peppers, and the brightness of lime zest to create a unique and delicious sauce perfect for topping tacos, grilled meats, or vegetables.
Ingredients:
– 3 ripe avocados
– 1/2 cup roasted red pepper, peeled and chopped
– 1/4 cup olive oil
– 2 cloves garlic, minced
– 1 tablespoon freshly squeezed lime juice
– 1 teaspoon smoked paprika
– Salt and pepper to taste
– Zest of 1 lime
Instructions:
1. In a blender or food processor, combine avocados, roasted red pepper, olive oil, garlic, lime juice, smoked paprika, salt, and pepper.
2. Blend until smooth, stopping to scrape down the sides as needed.
3. Stir in the lime zest.
4. Taste and adjust seasoning if necessary.
5. Cover and refrigerate for at least 30 minutes to allow flavors to meld.
Cooking Time: None
Fire-Roasted Romesco Sauce with Manchego Cheese

This smoky and creamy sauce is a perfect accompaniment to grilled meats, vegetables, or as a dip for crudités. With the added richness of Manchego cheese, it’s sure to elevate your next gathering.
Ingredients:
– 1 large red bell pepper
– 2 cloves of garlic, peeled
– 1/4 cup almonds
– 1/4 cup olive oil
– 2 tablespoons sherry vinegar
– 1 teaspoon smoked paprika
– Salt and pepper, to taste
– 1/4 cup Manchego cheese, crumbled
– Fresh parsley, chopped (optional)
Instructions:
1. Preheat your grill or grill pan to medium-high heat.
2. Place the red bell pepper on the grill and roast for about 30-40 minutes, or until charred and blistered.
3. Remove the pepper from the grill and let it cool down.
4. Peel off the skin, remove the seeds, and chop the flesh into small pieces.
5. In a blender or food processor, combine the roasted bell pepper, garlic, almonds, olive oil, sherry vinegar, smoked paprika, salt, and pepper. Blend until smooth.
6. Stir in the crumbled Manchego cheese.
7. Taste and adjust the seasoning as needed.
8. Garnish with chopped parsley, if desired.
Cooking Time: 30-40 minutes (grilling) + 5 minutes (blending)
Herbed Romesco Sauce with Fresh Parsley and Dill
This aromatic sauce combines the rich flavors of roasted red peppers and garlic with the freshness of parsley and dill. Perfect as a dip, spread, or accompaniment to grilled meats or vegetables.
Ingredients:
– 2 large red bell peppers
– 1 head of garlic, separated into cloves
– 1/4 cup olive oil
– 2 tablespoons lemon juice
– 1/4 cup chopped fresh parsley
– 2 tablespoons chopped fresh dill
– Salt and pepper to taste
Instructions:
1. Preheat oven to 425°F (220°C).
2. Roast the red bell peppers for 30-40 minutes, or until skin is blistered and charred.
3. Peel off the skin, remove seeds, and chop into small pieces.
4. In a blender or food processor, combine roasted peppers, garlic, olive oil, lemon juice, parsley, and dill.
5. Blend until smooth, seasoning with salt and pepper to taste.
6. Serve warm or at room temperature.
Cooking Time: 40 minutes
Sweet and Tangy Romesco Sauce with Honey
This sweet and tangy romesco sauce with honey is a delicious twist on the classic Spanish condiment, perfect for topping grilled meats, vegetables, or using as a dip.
Ingredients:
– 1/2 cup roasted red bell peppers
– 1/4 cup almonds
– 1/4 cup olive oil
– 2 cloves garlic, minced
– 1 tablespoon honey
– 2 tablespoons apple cider vinegar
– Salt and pepper to taste
Instructions:
1. Preheat oven to 400°F (200°C).
2. Roast red bell peppers for 30-40 minutes, or until charred.
3. Peel off skin, remove seeds, and chop into small pieces.
4. In a blender or food processor, combine roasted red bell peppers, almonds, garlic, olive oil, honey, apple cider vinegar, salt, and pepper.
5. Blend until smooth, stopping to scrape down sides as needed.
6. Taste and adjust seasoning if desired.
7. Serve immediately, or store in an airtight container for up to 1 week.
Cooking Time: 30-40 minutes (roasting red bell peppers)
Summary
Get ready to elevate your dishes with these creative twists on classic Romesco sauce recipes! This list features 18 unique and mouthwatering variations, each with its own special flavor profile. From smoky almonds to spicy chipotle, roasted garlic to sun-dried tomatoes, there’s something for everyone. Whether you’re looking to add a creamy element to your seafood or tacos, or simply want to impress your guests with a unique dip, these Romesco sauce recipes are sure to please.